Weekly Blog Final : Diner
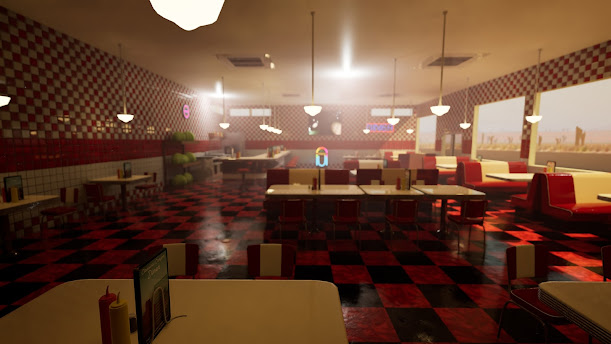
This video is rendered by Unreal Engine 5.5, using a plugin to export as mp4 "ffmpeg-7.1-full_build". In the final week, I was creating some other props, lighting settings, and creating a level sequence to render video. For the cactus, I was using curves and a loft tool to model the shape of the cactus. This process was nice to model a realistic and organic shape. For cabbage, I created a color with photoshop, exported it to Designer and merged it with the texture of the small leaf veins, and created a normal map with histogram color. To set up a level sequence, most of the settings are similar to the timeline setting of Unity. So I could set up without any problems. For lighting in Unreal Engine, I added volume and height fog to express a light which comes from the outside. I changed the temperature in post processing volume. Through this project, I challenged myself to so...


