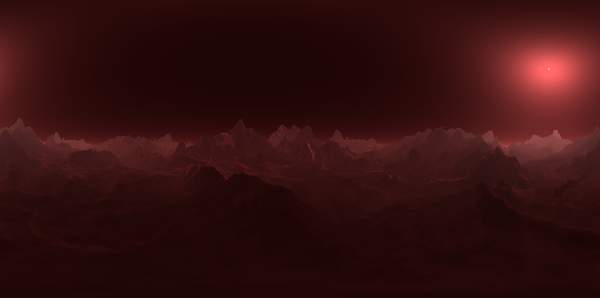
Weekly Blog 7 : HDRI backdrop in Unreal Engine
Both tutorials are so helpful to use HDRI in Unreal Engine.
I'm going to simply explain steps to create a HDRI backdrop from the scene in Unreal Engine.
1. Prepare the scene which you want to use as HDRI.
2. Create "Scene Capture Cube", choose texture target itself, and create texture file in the folder in content browser
3. You can move the scene capture cube and change the image to capture. If you want the scene to look bigger, move the cube to a lower position. To do the opposite, move the cube to an upper position.
4. Double click to choose the texture file and change resolution bigger.
5. Right click the texture file and create a static texture.
6. Asset Action > Export it as HDR file.
These are general steps to create HDR images from the scene view. This technique is useful to other projects, too.
And these will be the steps to use HDRI backdrop
7. Turn on "HDRI backdrop" plugin (need to restart)
8. Create HDRI backdrop
9. Attach HDRI which you created to the texture file of HDRI backdrop
10 Can change its size and center point. You can also target the center point to the camera.
After importing HDRI to Unreal, you can also change hue, saturation, brightness, and other parameters. So you can edit HDRI by checking the view in the game scene.
To use the HDRI backdrop, there is only one concern point. HDRI backdrop includes Sky Light as default. So you need to delete the skylight of HDRI backdrop or use skylight in HDRI backdrop as the project skylight.
Landscape object has a lot of polygons and too heavy to render them at once. To avoid a performance of rendering video and process of video game, HDRI backdrop is necessary to use.


Comments
Post a Comment